
Under and Over Extrusion – How to Recognize and Fix
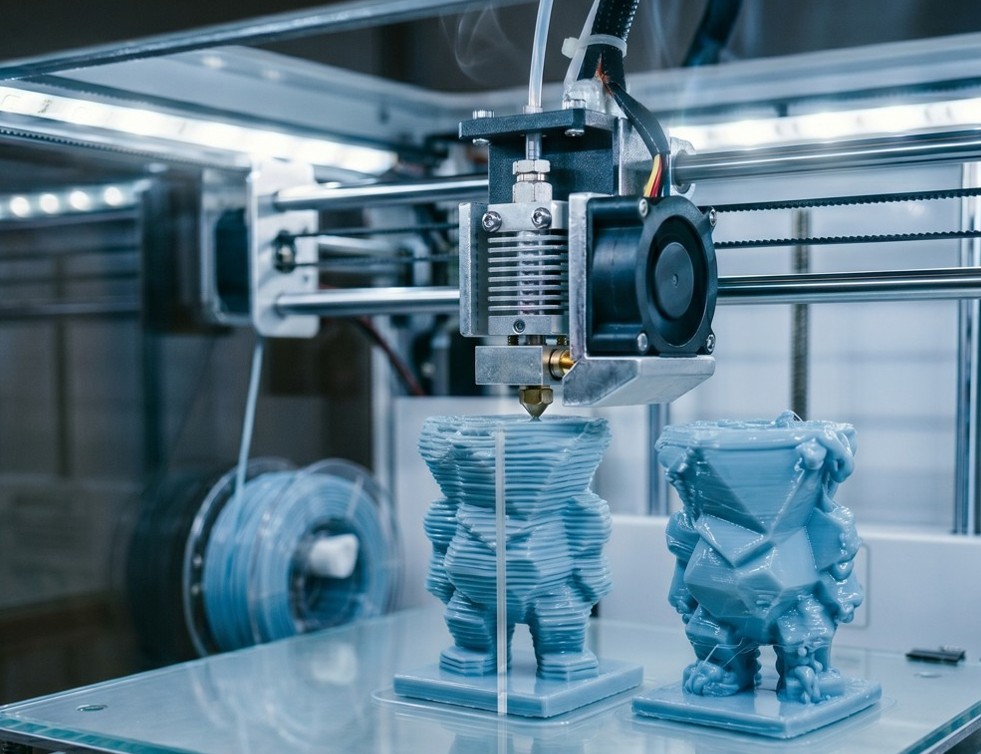
Too little or too much material – visual diagnostics and settings.
Correct extrusion amount (flow rate) is key to print quality:
🔍 Signs of under extrusion (too little material): • Visible gaps between lines • Weak or translucent walls • Poor layer adhesion • Holes on top surface • Dull and rough surface
🔍 Signs of over extrusion (too much material): • Rounded corners and material overflow • Layers sticking to hotend • Bumpy surface • Seams protruding from model • Too full, dull top layers
🔧 Diagnostics – calibration procedure: 1. First calibrate e-steps (extruder steps) 2. Print single-wall (0.4 mm thickness) 3. Measure with calipers – target: 0.4 mm 4. Adjust Flow Rate in slicer: (measured / desired) × 100% 5. Repeat until precise
📊 Causes of under extrusion: • Slipping extruder (worn gear) • Partially clogged nozzle • Wet filament • Too high print speed • Insufficient nozzle temperature
💡 Tip: Flow calibration is specific to each combination of material, temperature, and speed.