
How to Orient Your Model Before Printing
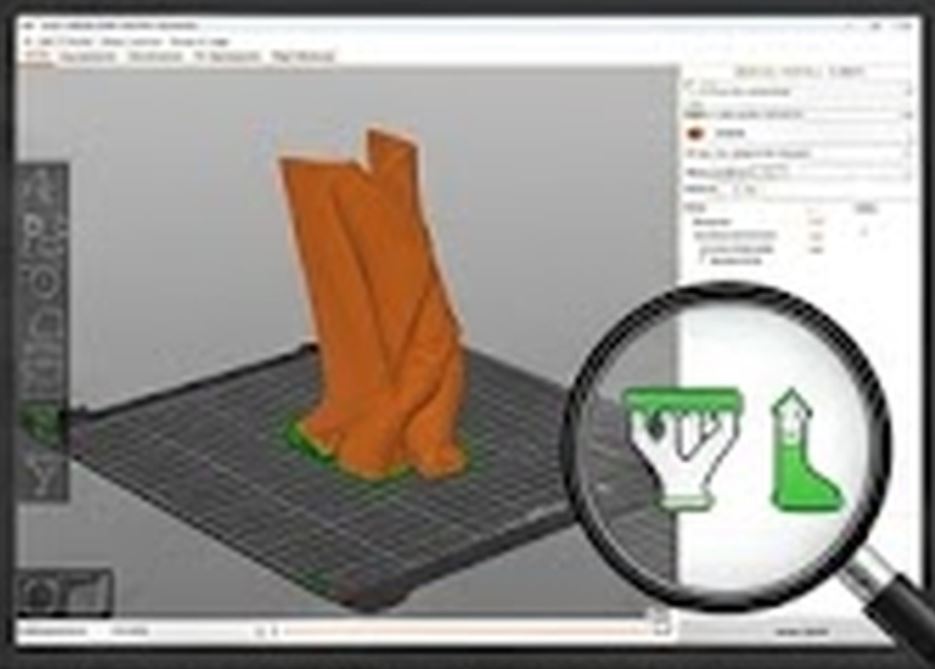
Proper model orientation saves material, time, and improves strength.
Model orientation in the slicer fundamentally affects print results:
📐 Basic rules: • Largest area should rest on the bed – better adhesion and stability • Overhangs over 45° require supports – orient to minimize them • Layers form natural planes of weakness – orient load-bearing parts perpendicular to layer direction
💪 Strength: • Parts are strongest in the layer plane (XY), weakest along layer direction (Z) • Bolts and clamps: Print so force acts in XY plane • Clips and hooks: Orient so stressed parts don't rely on layer detachment
🌳 Minimizing supports: • Rotate the model so overhangs point down or under 45° • Modularize – print in multiple parts and join with glue or screws • Seam (Z-seam): Hide it on less visible side
💡 Tips: • PrusaSlicer and Bambu Studio have automatic orientation suggestions • Always check layer preview before printing • Smaller bed footprint = less warping risk for ABS/ASA