Slicer guide
How to choose a slicer and get productive fast
Compare Bambu Studio, PrusaSlicer, Cura, and OrcaSlicer with practical features, recommended presets, and a short quiz to pick the best fit.
How to use this guide
- 1. Pick a slicer at the top and review its strongest features.
- 2. In Presets, compare recommended values for different scenarios.
- 3. If you are unsure, run the short quiz at the bottom.
Where to find it
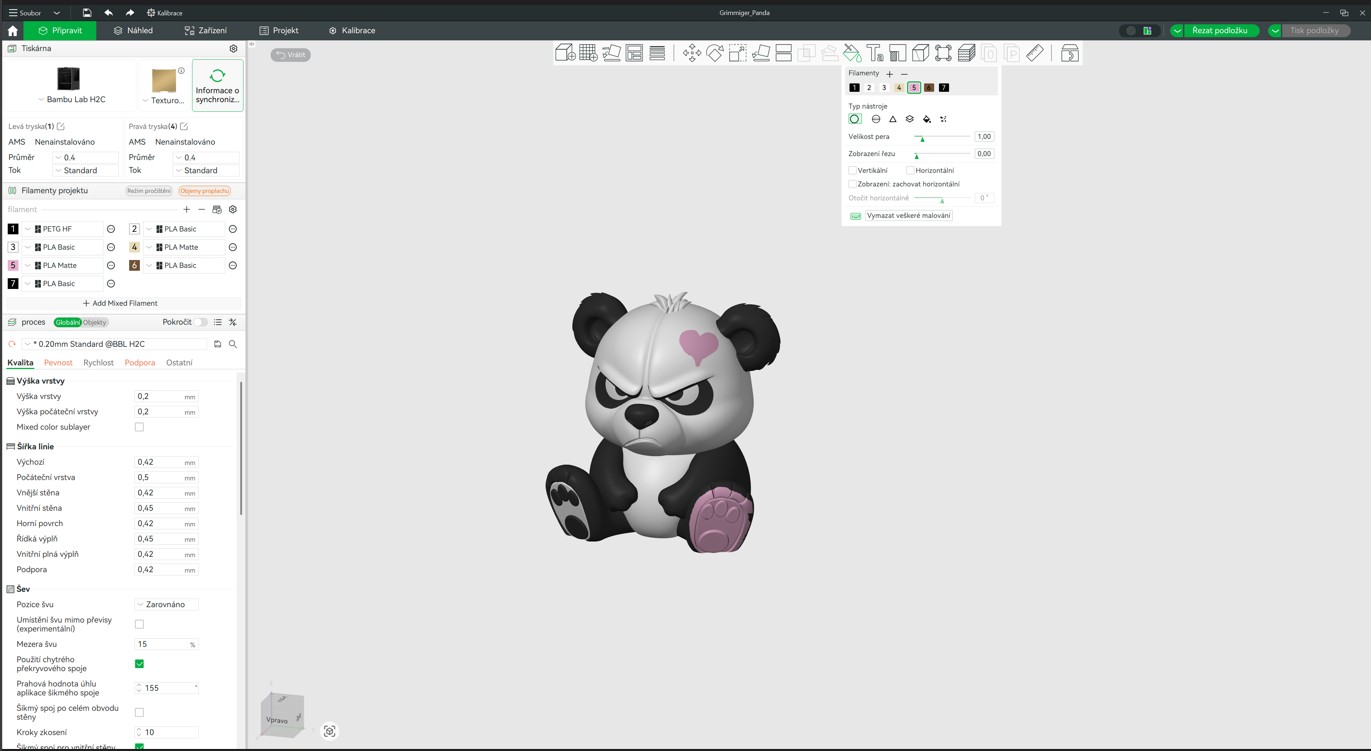
Paint tool (N key)
🎨 Smart Painting
Like a drawing app: pick a color and click a model area. The slicer handles filament swaps automatically.
Where to find it
Paint tool (N key)
🎨 Smart Painting
Like a drawing app: pick a color and click a model area. The slicer handles filament swaps automatically.
- 1Import a 3MF or STL model and add multiple filaments to the print profile.
- 2Select the model and press N (or click the brush icon in the left toolbar).
- 3Choose a color from the palette and paint the model surface with your mouse.
- 4Bambu automatically inserts color-change commands into G-code. Click Slice.
- 5Check color transitions in the 3D preview.
Pro tip
Enable Seam Painting and place the seam on the back of the model. The seam stays on the less visible side for a cleaner look.
Where to find it
Top bar -> Auto-arrange
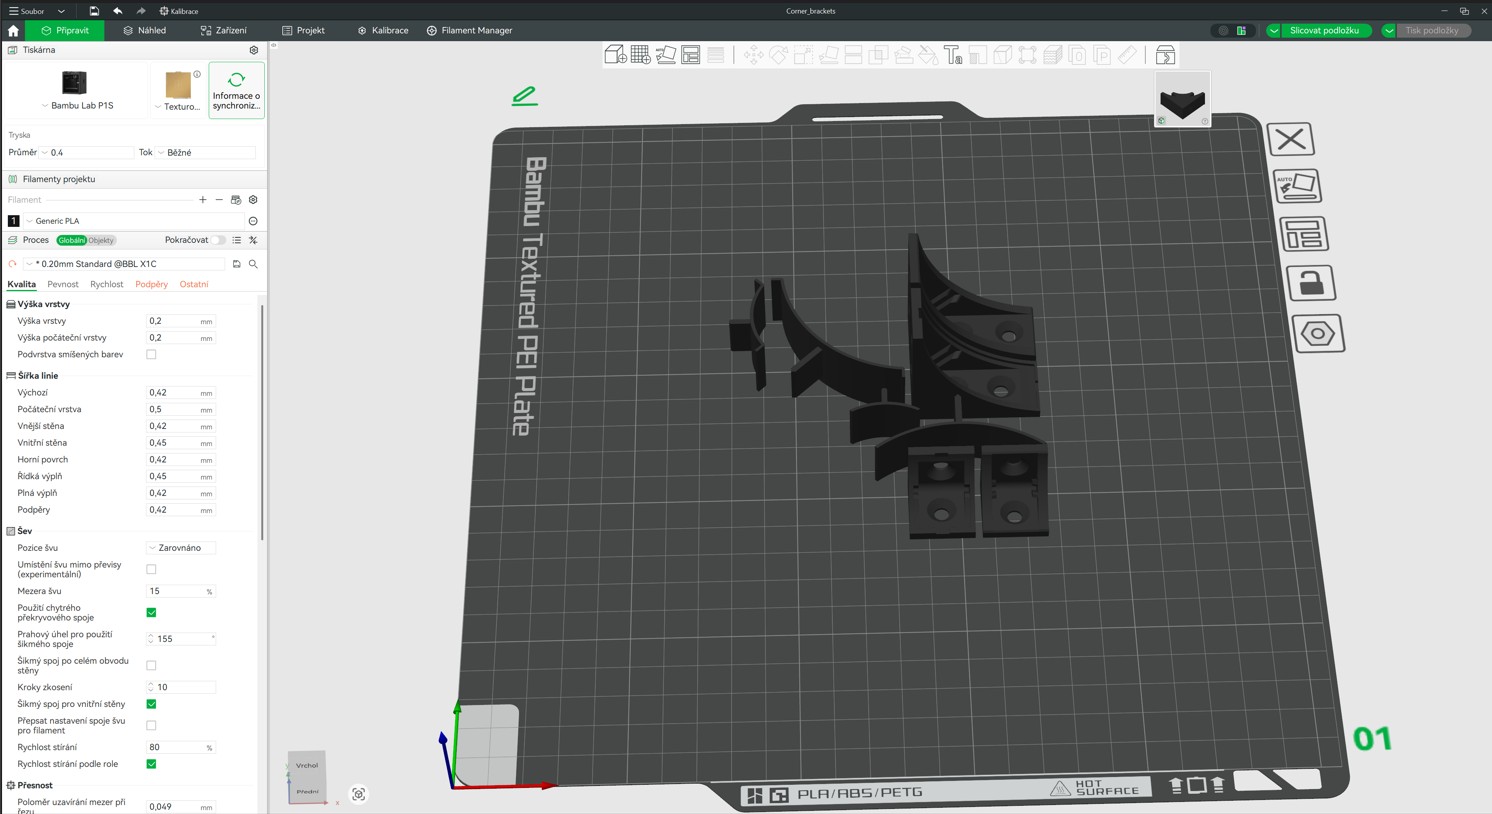
📦 Auto Arrange
Many parts to print? One click arranges them to maximize bed usage.
Where to find it
Top bar -> Auto-arrange
📦 Auto Arrange
Many parts to print? One click arranges them to maximize bed usage.
- 1Import all models into Bambu Studio (File -> Import or drag and drop files).
- 2Click the Auto-arrange icon in the top bar.
- 3Set the minimum object spacing in the dialog. Recommended value: 2 mm.
- 4Confirm and let the slicer optimize placement on the bed.
Pro tip
For small batches, try sequential printing. Each object finishes before the next starts, reducing collision risk.
Where to find it
Support -> Type -> Tree
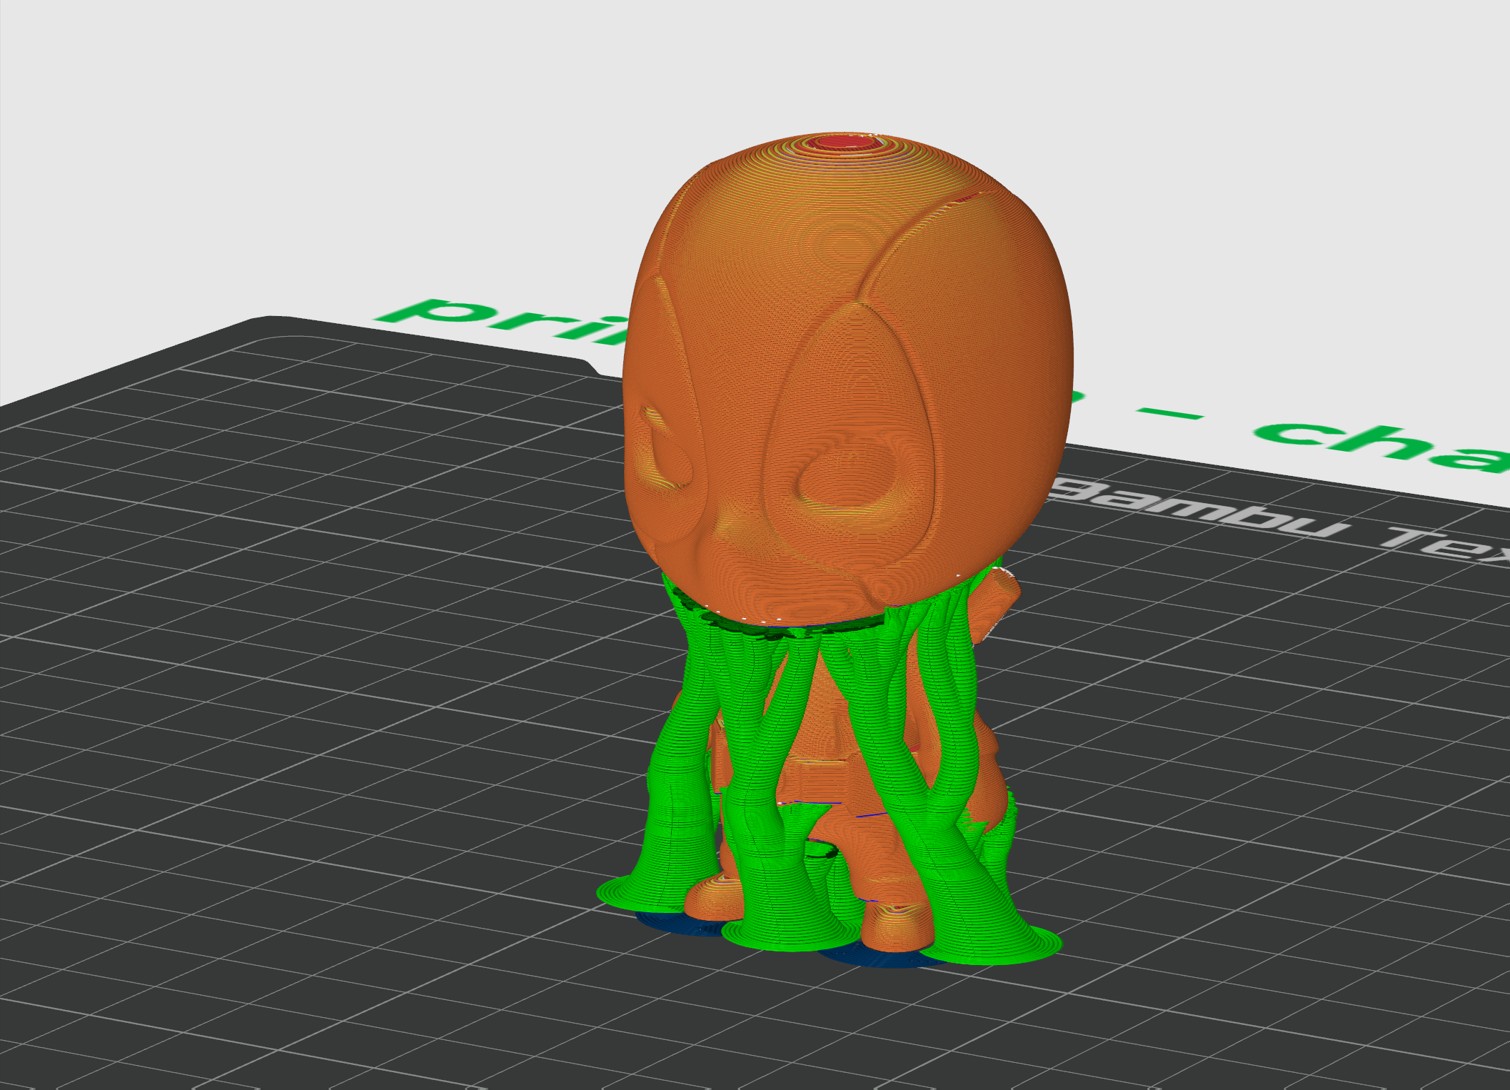
🌳 Tree Supports
Supports grow like branches, touching only where needed and removing more easily.
Where to find it
Support -> Type -> Tree
🌳 Tree Supports
Supports grow like branches, touching only where needed and removing more easily.
- 1Open print settings and go to the Support tab.
- 2Enable support and set Type to Tree (auto).
- 3Use Support Painting for precise control of supported areas.
- 4Check in Preview that all overhangs are supported.
Pro tip
Increase Tree Support Branch Angle to around 40 degrees for heavier parts. Lower Top Z Distance to about 0.15 mm for better undersides.
Recommended presets by goal
Switch scenario and expand a parameter to see both the value explanation and its name in the selected slicer.
Strength first for brackets, holders, and joints
Mini glossary
Infill
Percentage of internal volume inside the model. Around 15% is enough for decorative prints, while 40%+ is better for functional parts.
Layer Height
Thickness of each printed layer. Lower values improve smoothness but increase print time. Typical values are 0.1-0.3 mm.
Perimeters / Walls
Outer shell lines of the model. More walls increase strength but also print time.
Brim
A flat outline around the model that improves bed adhesion. It is removed after printing.
Support
Temporary structures used under overhangs. Usually needed above about 45 degrees and removed after printing.
G-code
Instruction language for 3D printers. The slicer generates it automatically before printing.
STL File
A common 3D model format downloaded from sites like Thingiverse or Printables and imported into a slicer.
3MF File
A newer format that can keep metadata such as colors and print settings. Preferred in Bambu Studio.
Which slicer fits you best
Answer four quick questions. The result is directional, but useful for matching your workflow.
What matters most to you during everyday printing?
How often do you calibrate your printer and materials in depth?
What type of projects do you print most often?
Which statement best matches your working style?