
Advanced Tuning: Temperature and Pressure
How to tune nozzle temperature, extrusion and printing parameters for different filaments to improve surface quality and reliability.
⏱ Estimated time: 15 min
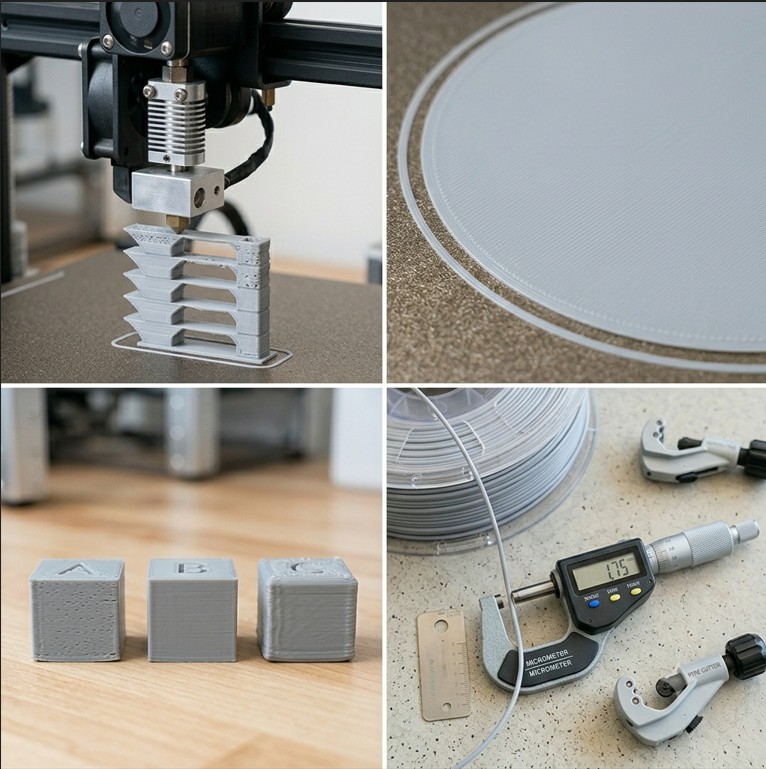
Procedure
Nozzle temperature
The correct temperature lies at the boundary between adhesion and plasticity.
🌡️ Temperature Tower – the fastest temperature diagnosis
How to Find the Ideal Temperature for Each Filament
Temperature Tower = one print, ten information at once
The Temperature Tower is a model printed with a gradually changing nozzle temperature. The result shows the ideal temperature range for a specific filament and printer.
- Model
- Download "Temperature Tower" from Printables.com
- PLA Temperature Range
- 374 - 428 °F (step 41 °F)
- PETG Temperature Range
- 428 - 482 °F (step 41 °F)
- What to Watch
- Stringing, bridging, surface detail
How it works: Slicer will use a plugin or manual G-code changes that change nozzle temperature in specific layers. Each floor of the tower corresponds to a different temperature.
Ideal tower section: Smallest stringing + best bridging + compact surface without gaps = your ideal temperature.
Why is it different from coil to coil: Every manufacturer and batch of filament is different. The temperature that works for Prusament PLA may not work for Bambu Basic PLA.
⚡ Pressure Advance / Linear Advance
Filament Pressure Compensation During Acceleration and Deceleration
PA/LA = cleaner corners, less blobs, even extrusion
Pressure Advance (Klipper) or Linear Advance (Marlin) compensates for extrusion lag during speed changes.
- Klipper – Pressure Advance
- Value: 0.02-0.08 (Direct Drive)
- Marlin – Linear Advance
- K-factor: 0.05-0.2 (Direct Drive)
- Bowden extruder
- Higher values: 0.4-1.5
- Calibration
- PA Tower nebo Marlin K-factor test z Printables
A symptom of a poorly set PA: Corners are blob (too large PA) or rounded and thin (too small PA).
How to calibrate: Print a PA calibration model with a gradually changing value. Find the line with the sharpest corners and no blobs.
Key point: A properly set PA will dramatically improve print quality at high speeds without the need to slow down.
📊 Flow Rate and E-step Calibration
Precise calibration of the volume of extruded plastic
E-steps calibration = the basis of accurate and reliable printing
E-steps determine how many motor steps correspond to 0.04 in of filament movement. Incorrectly calibrated E-steps cause under- or over-extrusion.
- Procedure
- Mark the filament 3.94 in from the extruder, extrude 3.94 in, measure the fact
- Formula
- New E-steps = (Current E-steps × 100) / Actual Extruded mm
- Flow Rate (in the slicer)
- Tuning ±5-10% without intervention in the firmware
- Tolerance
- Ideally 98-102% accuracy
E-steps vs. Flow Rate: E-steps is the physical calibration of the extruder in the firmware. Flow Rate is a software tuning in the slicer. Correct procedure: first E-steps, then Flow Rate.
Calibration Single Wall cube: Print a thin-walled calibration die and measure the wall thickness with a caliper. It should correspond to the width of the nozzle (0.02 in).