
Slicer: PrusaSlicer vs. Cura vs. Bambu
Choosing the right slicer: comparison of features, workflows, and typical output for each popular slicer.
⏱ Estimated time: 13 min
Procedure
Main Slicers
An overview of the three most popular slicers.
🔍 Comparison of the Main Slicers
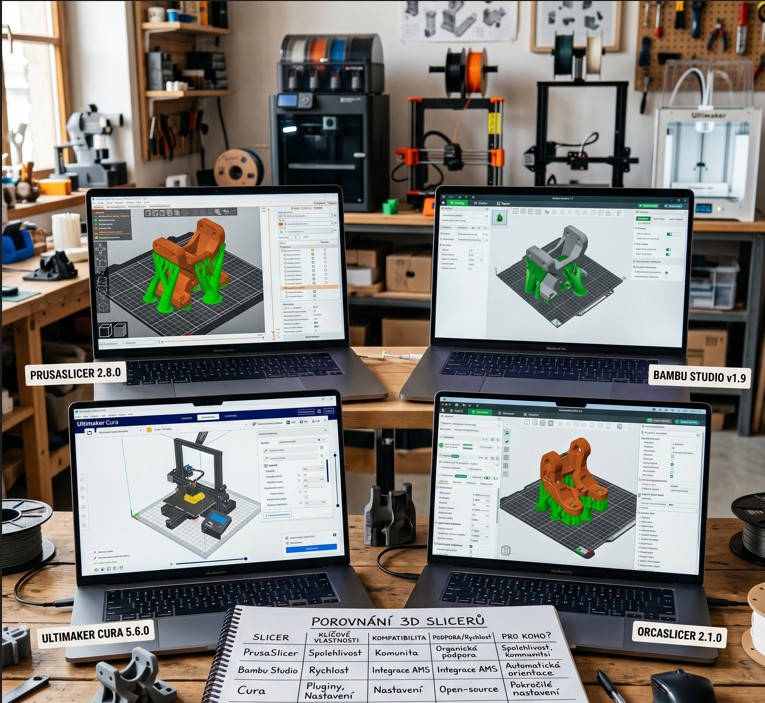
PrusaSlicer vs. Bambu Studio vs. Ultimaker Cura
Bambu = quick start | PrusaSlicer = control | Cura = community
They're all free. The choice depends on your printer and your priorities.
- Bambu Studio
- Bambu Lab printers | Quick Start | Cloud + camera + AMS
- PrusaSlicer
- Prussian + universal | Czech menu | Precise control
- Ultimaker Cura
- Almost every printer | Huge community | Plugins
- OrcaSlicer
- Fork PrusaSlicer | Advanced calibration tools
- QIDI Studio / Anycubic Slicer
- For the maker ecosystem | Enclosure and AMS workflow
Bambu Studio The fastest way to print for Bambu Lab owners. Integrated camera, cloud, AMS multi-material. Less suitable for other printers.
PrusaSlicer / OrcaSlicer: A strong choice for Prusa printers and as a universal slicer for advanced users. OrcaSlicer adds advanced calibration models (PA Tower, Flow Test).
Ultimaker Cura Use this recommendation while configuring your print.
🚀 How to Get Started with the New Slicer
Three Steps to Proper Setup
Recommended option
A new slicer doesn't have to mean hours of configuration. The printer manufacturer's default profiles are a good place to start.
1. Install the slicer and run the wizard: Select your printer from the list - the slicer will automatically set the pad size, nozzle and default profiles.
2. Load the default material profile: Use this recommendation while configuring your print.
3. Slice and check the layer preview: Always check the Layer View before printing - check supports, first layer and potential geometry issues.