
Troubleshooting: Problems and Solutions
What can go wrong during a print: failures, warping, blobs and practical steps to diagnose and resolve them.
⏱ Estimated time: 15 min
Procedure
Common Problems
A Guide to the Most Common Problems and How to Solve Them.
🔎 Quick Diagnostic Chart
Symptom → Cause → Solution
See Guide #3: Solving Common Problems for detailed instructions
A quick overview of the most common failures and their causes. For detailed troubleshooting steps, see Guide No. 3.
- Spiderwebs (stringing)
- Too high temperature or insufficient retraction
- Warping
- Dirty pad, wrong temperature or missing brim
- Holes in the walls
- Under-extrusion: clogging, low temperature, fast printing
- No extrusion / clicking
- See recommended range for this material.
- Waves on the walls (ghosting)
- Loose belts or too high acceleration
- The model came loose
- Bad Z-offset or dirty pad
- Spaghetti (Chaos of Layers)
- Detachment from the mat during printing
- Layer shifting
- Skipped steps: belts allowed or high speed
Principle #1: Use this recommendation while configuring your print.
Principle #2: Check the cheapest causes (pad, filament, temperature) first, then tackle the hardware.
🚨 Critical printing failures
What to Do If Printing Fails Midway Through
Spaghetti press = stop immediately, do not tear when hot
Critical failures are situations that cannot be resolved without stopping the print job. How to respond to them properly.
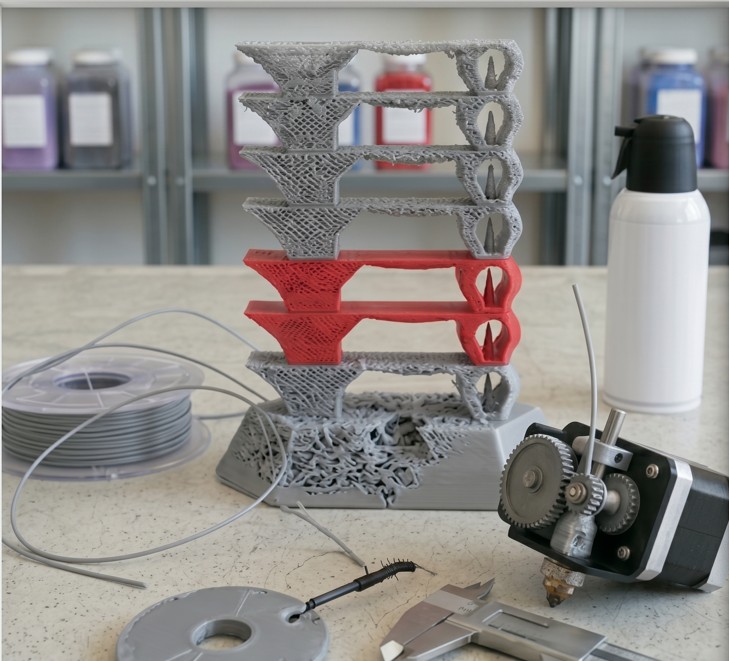
Unsticking the model (spaghetti): Stop printing, let cool to ~140 °F, then gently remove the tangle of filament. Do not clean in heat.
Clogging mid-print: Pause printing, perform a Cold Pull or replace the nozzle. Then try to resume printing via Resume Print.
Layer shifting: Stop printing. Check belt tension and loose screws. Start printing again from the beginning.
Power interruption: Modern printers (Bambu, Prusa, Creality) have Power Loss Recovery. After power is restored, the printer continues from the last point.