
Post-processing: Corrections and Polishing
How to repair common defects and finish prints: smoothing, priming, painting, and protective coatings.
⏱ Estimated time: 13 min
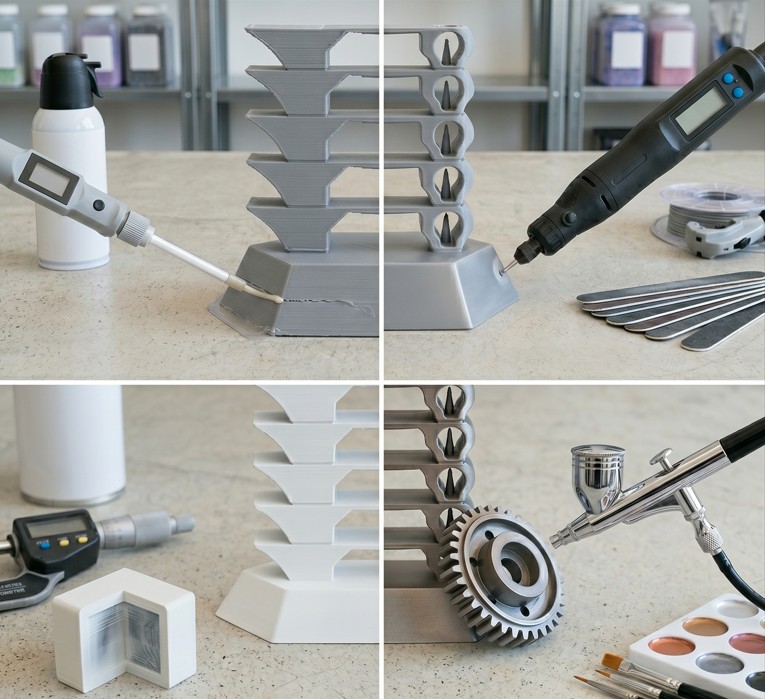
Procedure
Smoothing
Various methods, ranging from abdominal surgery to chemical peels.
🔧 Fixing Post-Printing Defects
How to Fix Common Print Defects
CA glue + two-component sealant = universal repair kit
Minor defects don't necessarily mean you have to print the entire model again. Many can be repaired quickly and easily.
Hole or missing layer: Cover with a second adhesive (CA), sprinkle with an accelerator or apply a two-component polyester sealant. Sand after hardening.
Broken detail: Second (CA) glue on PLA. Epoxy 2K adhesive for PETG and ABS. Before gluing, sand the surface with 120 grit sandpaper.
Bad Z-seam (vertical scar): Sand with 240+ grit, then use primer filler spray to unify the surface before painting.
Warping at the corner If the deviation is small, sand or lightly heat with a heat gun and flatten slightly. For large deviations, it is easier to reprint.
🌟 Overview of Surface Treatment Methods
Which polishing method is right for you?
Sanding + primer + varnish = a reliable foundation for every material
Every method has its pros and cons. A combination of methods yields the best results.
- Sanding (120–2000)
- All Materials | Beginner | Slow but safe
- Acetone vapors
- ABS/ASA only | Expert | Quick, mirror shine
- IPA Vapor (PVB)
- Only Polysmooth/PVB | Expert | Mirror surface
- Primer + Varnish
- All Materials | Advanced | Professional finish
- Heat Gun
- PLA/ABS | Beginner | Quick smoothing of small things
Best combination: Sanding (120→600) → Primer Filler → Control Sanding (400) → Color → Clear Coat. Applies to both PLA and PETG.
Detailed guide to each method: You can find the step-by-step process of sanding, acetone smoothing, sealing and varnishing in Guide No. 4: Finishing the print.